The first step and the most enjoyable one is to select your materials. I tend to lean toward semi precious gemstones, but that doesn’t mean you have to. There are so many different things to choose from: clay, glass, acrylic, metals, and precious and semi precious gemstones. It is all up to your own taste. To make a simple bracelet eight inches long you will need about four medium sized beads and five or six smaller ones. Once your have decided on your beads, you will need to decide on your wire: the size and the color. Bracelets take a lot more wear and tear than other jewelry articles, so you will need a heavier wire. I generally use a 20 or 22 gauge wire (the smaller the gauge number the bigger the wire). Most of my work is done in silver, but I have a fondness for copper, perhaps because it has a vintage look about it. You will also need to decide on what findings you might want to use. Findings include things such as charms, closures, bead caps and connectors. For this project you will just need a lobster clasp.

Now that you have everything selected, it is time to plan your pattern. You will need a flat surface and a bead mat to keep your beads from rolling away from you for this step. The bead mat does not have to be a one sold in bead shops; it can be a square of felt or even a hand towel. Lay out your beads and begin designing. Don’t settle for the first pattern you come up with; have some fun experiment until one strikes your fancy. Here’s what I have chosen.
For the rest of your project your will need some special tools. I use five tools for just about every project. They are: round nose pliers, flat nose pliers, chain nosed pliers, flush cutters and a measuring tape. I use round nosed pliers for making loops and rings.
My flat nosed pliers are used to hold things in place while I wrap my wire and to close jump rings and ear wires.
I use chain nose pliers to pull things tight and to blend in the loose ends of wire.
My flush cutters help me trim my wire close to the beads.
It is time to begin. For each bead you have chosen you will need a piece of wire about 3 times its length. If your bead is an inch long, you will need about 3 inches of wire. The wire for the last two beads wires should be a bit longer because you will be adding a clasp to those beads. Measure your wire and cut the pieces for each bead using your measuring tape and flush cutters.
Let the wrapping begin! I like to start in the middle so that I can easily add or remove beads in the pattern to adjust the length. Using the wire for your center bead and your round nose pliers, you will place your pliers on the wire about one third of the way down the wire. Wrap the short end of you wire around the end of your pliers until it crosses the longer wire.
Wrap the short end around the long end one complete time. Wrap the short wire 2 more times around. Using your flush cutters trim off and extra wire you may have. Slide your round nose pliers out of the loop.

Slide your bead on the wire, pushing it up close to the wrap. Notice how much space the wire you just wrapped takes up. Place your round nose pliers that far away from your bead.
Wrap this end of the wire just like you wrapped the other side, cut it flush. Now take your chain nosed pliers and blend the cut end of wire into the wraps of wire on both ends. This is done so that the raw ends do not snag your clothes or prick your skin. Run your fingers over the wire to make sure it is smooth. Congratulations, you have just made your first bead connector!
Wrapping the rest of the beads will be done almost the same way except that you will be adding the bead to a chain each time. Take the wire for the next bead, place your round nose pliers about one third of the way down and wrap the short end of the wire around the nose of the pliers. But before closing the loop, slide the bead connector you just made into the open loop.
Using your flat nosed pliers hold the loop closed and wrap the short wire completely around the long one three times. Using your flush cutters trim the extra wire and slide your bead on.
You will continue doing this to both sides of the center bead until you get to the last bead on each side.
When you reach the last bead, it will be done just a bit differently. On one end of your chain you will be adding your lobster clasp. This is done exactly the same way you did to add a bead connector except you will be sliding the ring of your clasp into the open loop instead of a bead chain. On one side of the last bead you will add the bead chain and on the other side of that bead you will add the lobster clasp.
On the other end of your chain, you will add you last bead to the chain. With only one end of one bead left to wrap you are almost finished. This time you want to make a bigger loop; to do this move your wire up a bit on the nose of your pliers before you begin to wrap.
Finish wrapping the wire around three complete times and remove the pliers. Trim the wire and blend in the raw edge.
Finally run your fingers over each bead wrap to make sure there are no raw edges that will catch on clothing or skin. Blend in any you find with your chain nose pliers.
Way to go! You have just made your own fashion accessory!
Well this was my first tutorial. Please comment and tell me what you think and how I did! Thanks!
 Vintage Trio of Old Cute Ske...
 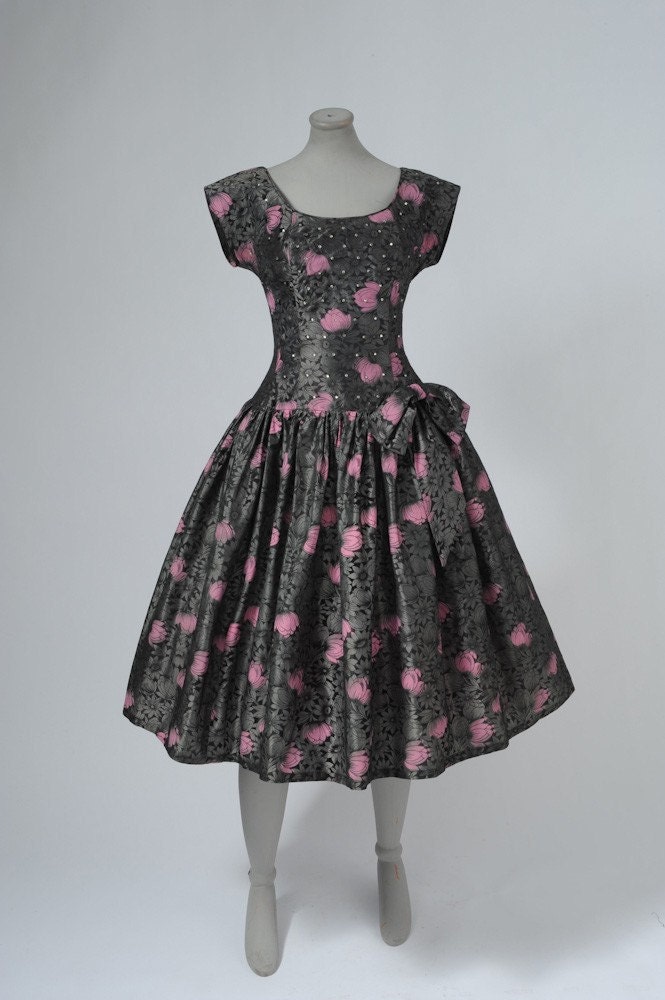 Pink Tulips on Grey Leaves
 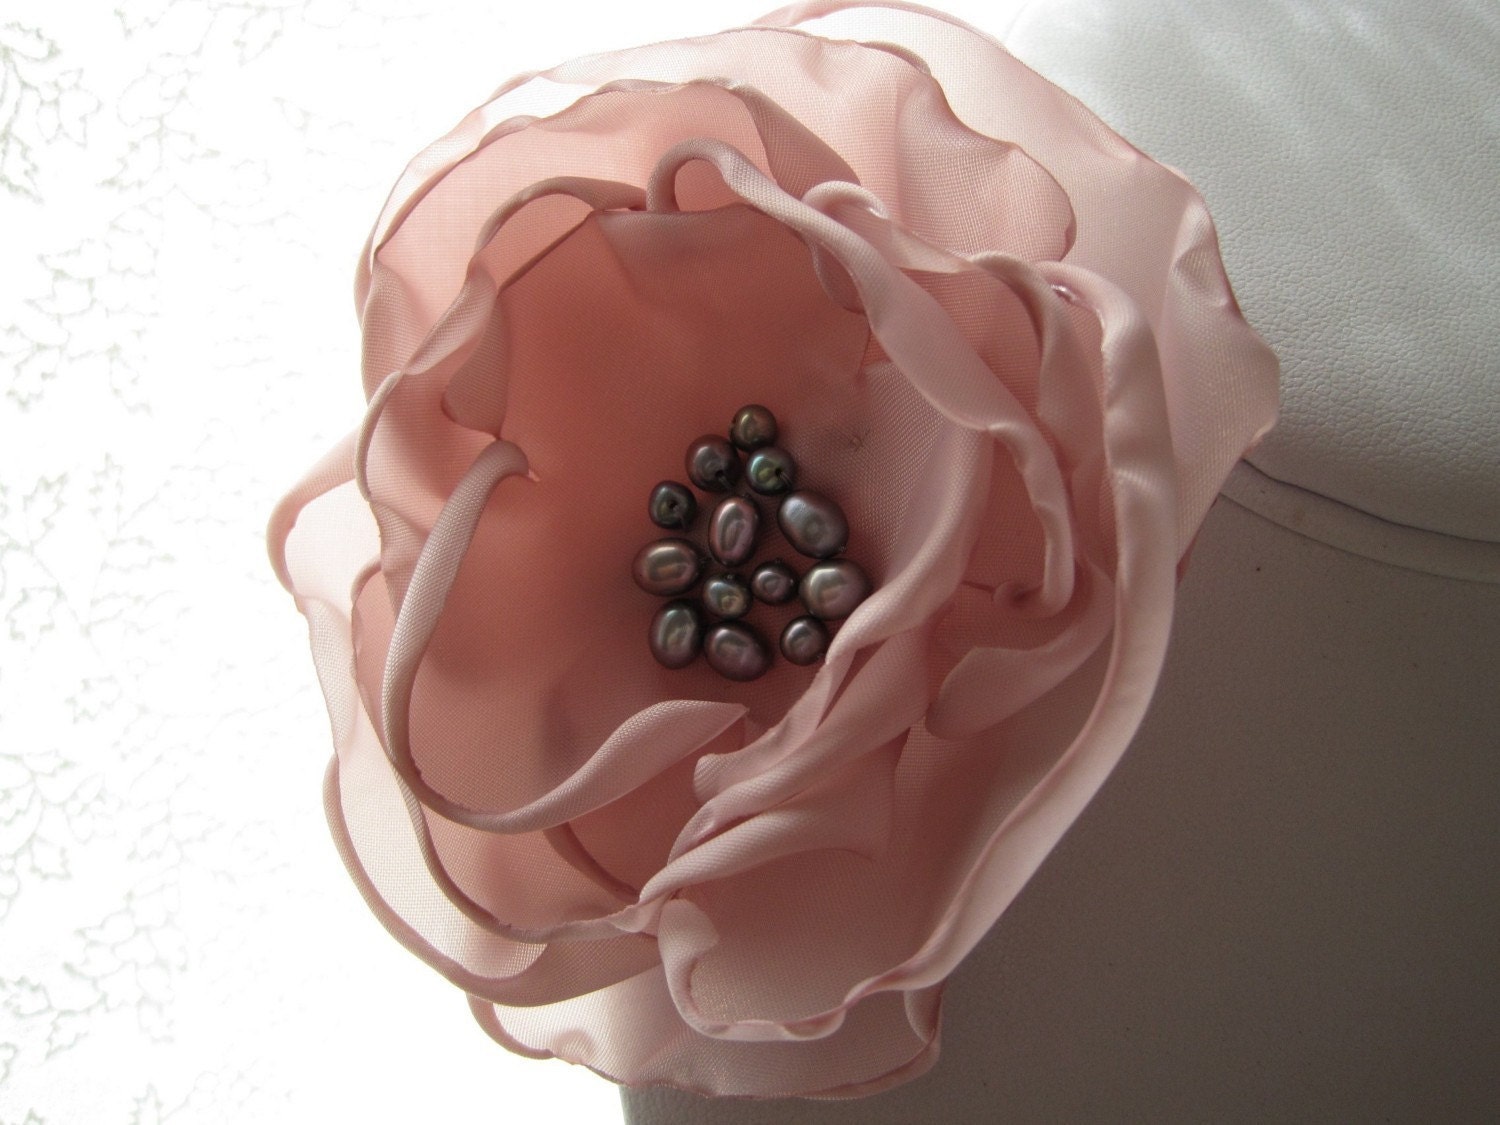 MARGUERITE - made to order -...
 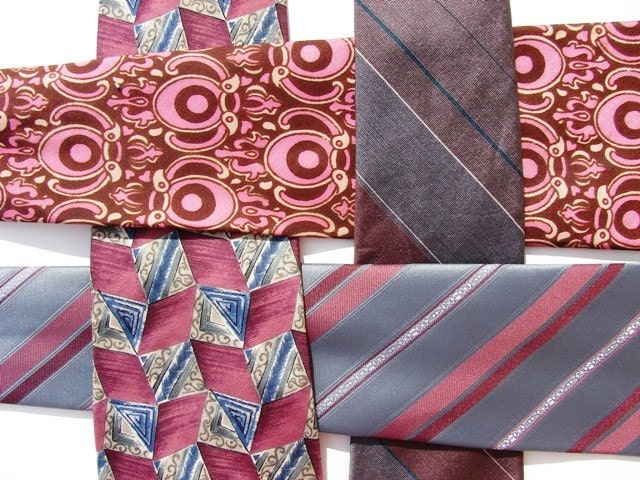 Men's Tie Collection - 3
  ON SALE Vintage Nino Gabriel...
  Dainty Glass Pearl Necklace....
  Vintage Dance Poster, Acroba...
  VINTAGE Hand painted ,Rhines...
  Vintage Mother of Pearl Cuff...
  Vintage Gray Pinstriped Men&...
 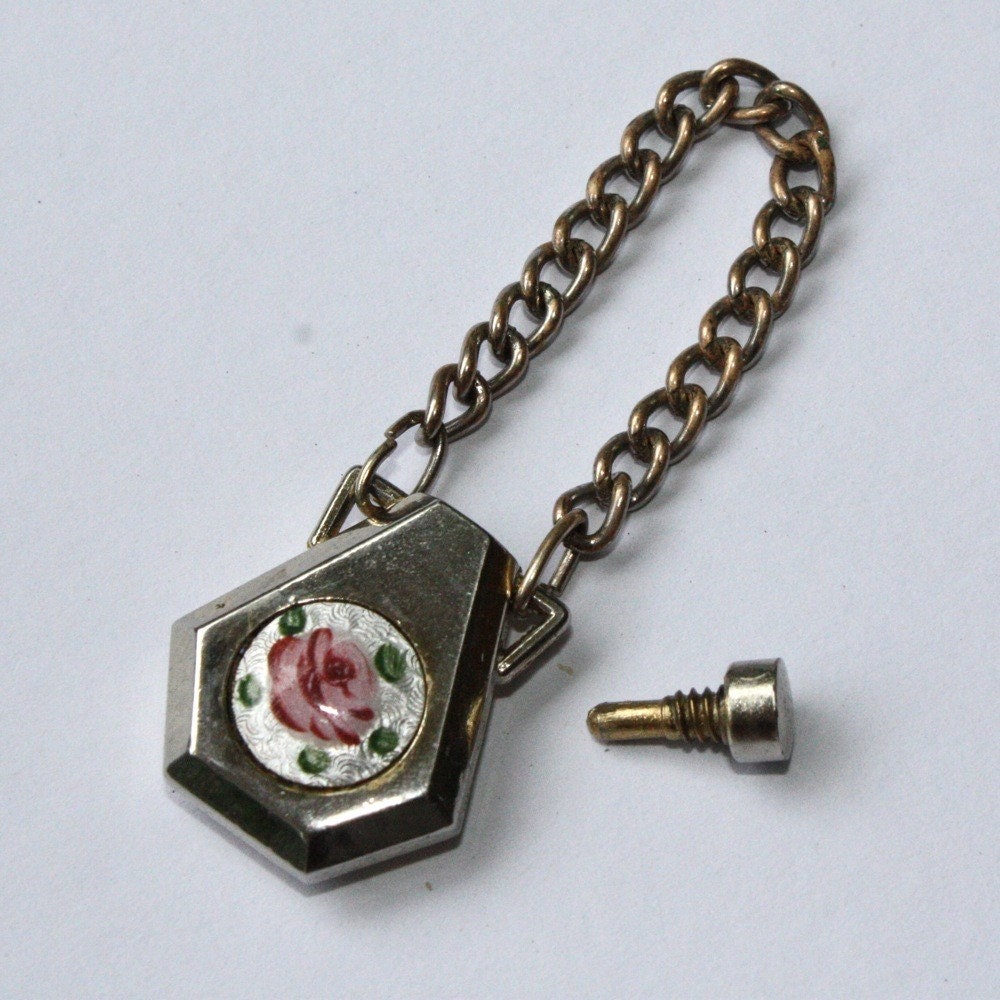 1950's Perfume Pendant/C...
 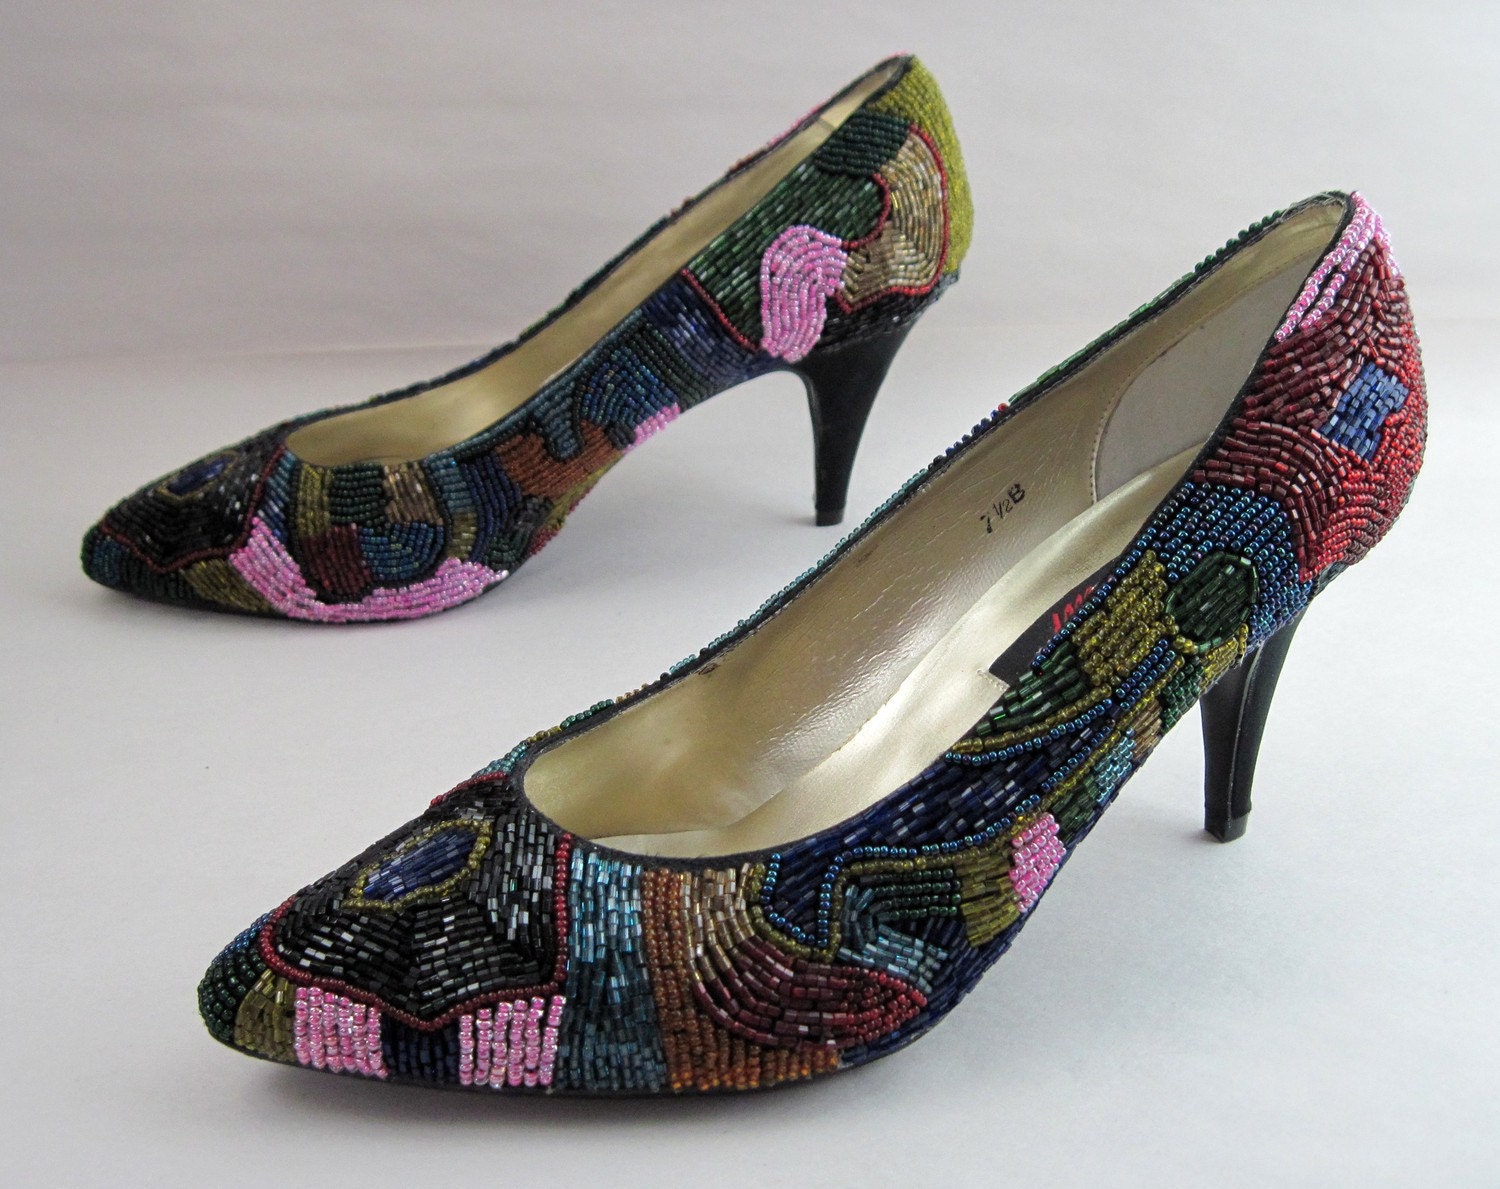 Vintage Iridescent Jewel Ton...
  Evyan White Shoulders Powder...
  Vintage Black Ladies Hat
  Sergeant Slap - Vintage Serg...
  BLISS Tumbled Stone miniMagn...